How to repair an inflatable canoe (Intex Challenger K1)
Posted by Gav Grayston.First Published May 2013; updated May 2023.
Inflatable canoes are easier to store and easier to transport, but the can and do get punctured. Here's how we repaired ours, which was very easy to do.
***Well, it was bound to happen sooner or later: we got a puncture in one of our inflatable canoes. Here are some steps on how to repair an inflatable canoe, specifically the Intex Challenger K1 in this case. ***

Inflatable Canoes - watch out for sharp objects!
How the canoe got punctured
We didn't get the puncture in more the expensive and well-protected Sevylor Hudson, but the cheaper Intex Challenger K1.
Additional protection for the inflatable hull is one of the trade-offs for cheaper inflatable canoes (see Are expensive inflatable canoes worth it?).
This was a really unlucky puncture before this one hit the water.
We checked the area thoroughly before inflating, but once the boat was inflated, I heard a hissing sound.
On turning the boat over, there was a small piece of clear broken bottle glass with a sharp point.
We must have moved the boat, and this dragged the glass into the hull.
Top Tip: check the area thoroughly, then put down a heavy-duty tarp and inflate the boat on that!
The Intex Challenger Repair Kit
The Intex Challenger comes with a repair kit, though if you're not careful, you may miss it.
It is a thin piece of yellow paper with one slightly shiny side. It's easy to confuse packaging or some unimportant, easily discarded warranty notice.
The repair kit is simple to use:
- Clean the area with the puncture
- Cut a piece off the paper that will cover the hole
- Peel back the yellow paper to reveal the clear patch
- Place firmly over the puncture
- Leave for at least half an hour before inflating
Intex doesn't recommend patching if the hole is 5cm or more.

Inflatable canoe with a puncture repair patch
Emergency Puncture Repair Kit
We have cut the repair sheet to smaller sizes, now in the dry bag as an emergency puncture repair kit.
If we need to clean the puncture hole before fixing it, then a supply of wet wipes comes to the rescue again!
Is this repair kit any good?
I was rather worried when putting on the patch. The thin yellow paper and the clear sticky tape didn't look like a strong solution.
However, after inflating the patch, we looked good and took the boat on the water (with one very worried child in it!).
The patch held, and the canoe remained firm.
Deflating, packing away, and then re-inflating, the patch was still fine. However, it looked like the patch's edges may start peeling off...but that may just have been a bit of paranoia.
Time for a proper repair. I peeled off the old patch (which still had plenty of 'sticky' with it).
Intex Puncture Repair Kit for Inflatables
There are a few puncture repair kits out there. I bought a repair kit by Intex from Amazon, which wasn't very expensive.
The repair kit has some clear film and 'cement' glue. The clear film is much thicker than the repair kit that came with the canoe.
Cut the film to size, apply the glue to cover the film, and press firmly in place (obviously ensuring no air holes).
Intex recommends you wear gloves when applying as this stuff is like superglue (oops) - which is reassuring for a permanent patch.
You cannot inflate for at least 12 hours.
I also stuck the old patch over the top, just for good measure 🙂
We've yet to test this patched canoe on the water properly, but I feel happy that this patch appears welded in place.
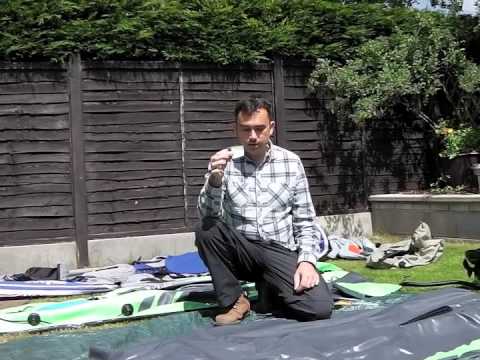
Here's our video showing the repair.
And it is still holding
Years on, and that repair patch is still holding, despite the kayak grounding out and being used and abused!